Luxury Vinyl Plank (LVP) flooring has become a popular choice for homeowners due to its durability, versatility, and aesthetic appeal. While the installation process for LVP is relatively straightforward, one crucial skill that DIY enthusiasts and professionals alike need to master is cutting the flooring accurately. The right cutting techniques not only ensure a seamless installation but also contribute to the overall visual appeal of the space. In this comprehensive guide, we will delve into the various methods and tools for cutting LVP flooring, providing step-by-step instructions and tips for achieving precise and professional results.
Understanding Luxury Vinyl Plank (LVP) Flooring
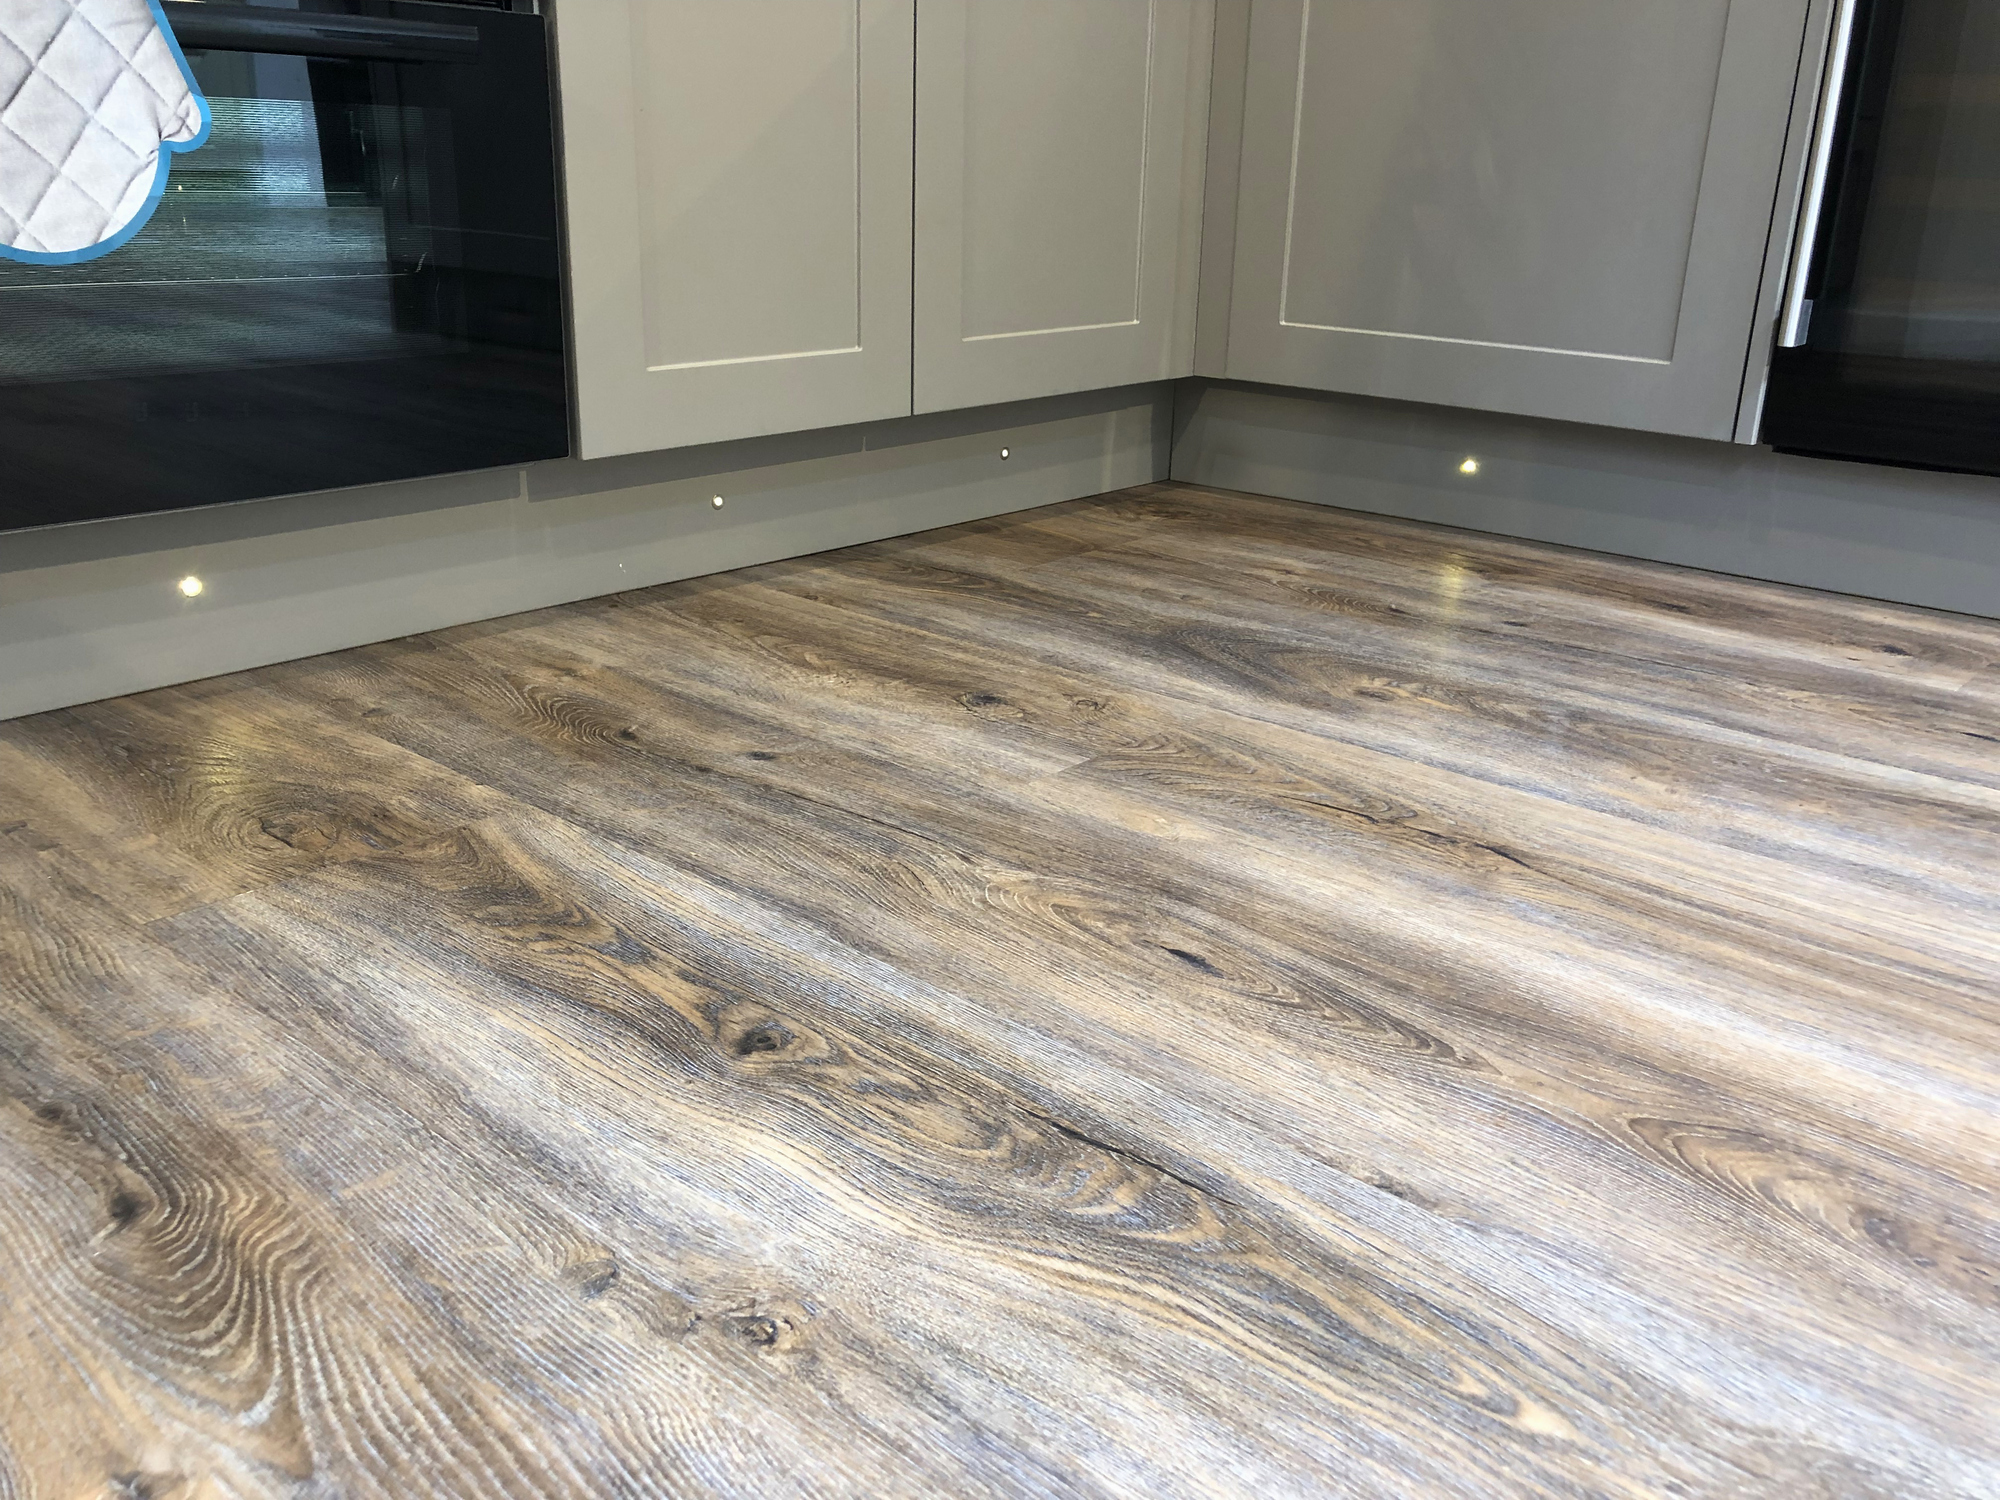
Before we delve into the cutting techniques, it’s essential to have a basic understanding of LVP flooring. LVP is a synthetic flooring material that replicates the look of natural hardwood. It typically comes in planks with interlocking edges, facilitating a “floating” installation method. LVP is known for its water-resistant properties, making it suitable for various spaces, including kitchens, bathrooms, and basements.
Tools Required for Cutting LVP Flooring
To achieve precise cuts and a professional finish, it’s crucial to use the right tools. Here are the primary tools you’ll need for cutting LVP flooring:
- Utility Knife:
- A high-quality utility knife with a sharp blade is essential for making straight cuts on LVP. Ensure that the blade is sharp to prevent tearing or jagged edges.
- Vinyl Cutter:
- A vinyl cutter is a specialized tool designed for cutting vinyl flooring. It operates similarly to a paper cutter, providing a clean and straight cut.
- Jigsaw:
- A jigsaw equipped with a fine-tooth blade is useful for making curved cuts or notches in the LVP. This tool is particularly handy for fitting the flooring around irregular shapes.
- Table Saw:
- A table saw is an excellent tool for making long, straight cuts on LVP. It provides stability and precision, ensuring clean and accurate edges.
- Miter Saw:
- A miter saw, commonly used for cutting angles in woodworking, can be adapted for cutting LVP. It is ideal for making straight cuts and angle cuts with precision.
- Straight Edge or T-Square:
- A straight edge or T-square is crucial for guiding your cutting tools and ensuring that your cuts are straight and accurate.
- Safety Gear:
- Safety should always be a priority. Wear safety glasses to protect your eyes, and if you’re using power tools, consider using ear protection and dust masks.
Step-by-Step Guide to Cutting LVP Flooring
1. Measure and Plan:
- Before making any cuts, carefully measure the area where the LVP will be installed. Plan the layout to minimize the number of cuts needed, especially in visible areas.
2. Acclimate the Flooring:
- Allow the LVP flooring to acclimate to the room’s temperature and humidity for at least 48 hours before installation. This helps prevent expansion or contraction after installation.
3. Prepare the Tools:
- Ensure that your cutting tools are in good condition. Sharp blades are essential for achieving clean cuts without causing damage to the flooring.
4. Straight Cuts with a Utility Knife:
- For straight cuts, use a utility knife and a straight edge or T-square.
- Place the straight edge along the cutting line.
- Score the surface of the LVP along the straight edge using the utility knife.
- Once scored, bend the plank along the scored line to break it cleanly.
5. Vinyl Cutter for Straight Cuts:
- A vinyl cutter provides an efficient way to make straight cuts.
- Measure and mark the cutting line on the LVP.
- Place the LVP in the vinyl cutter, aligning the cutting mark with the blade.
- Push the blade across the plank to make a clean cut.
6. Jigsaw for Curved Cuts:
- When dealing with curves or notches, a jigsaw is the tool of choice.
- Mark the cutting line on the plank.
- Use the jigsaw to carefully follow the marked line, creating curved or notched cuts as needed.
7. Table Saw for Long, Straight Cuts:
- When making long, straight cuts on multiple planks, a table saw is efficient.
- Set the table saw fence to the desired width.
- Feed the LVP plank through the table saw, ensuring a straight and even cut.
8. Miter Saw for Angle Cuts:
- A miter saw is ideal for making precise angle cuts.
- Set the miter saw to the desired angle.
- Hold the LVP plank securely against the saw’s fence and cut.
9. Test Fit and Adjust:
- After making cuts, conduct test fits before permanently installing the planks. This allows you to make any necessary adjustments for a perfect fit.
10. Install Planks:
- Once satisfied with the cuts, proceed with the installation according to the manufacturer’s guidelines.
Tips for Achieving Professional Results
- Measure Twice, Cut Once:
- The adage holds when working with LVP flooring. Double-check your measurements before making any cuts to avoid errors.
- Use the Right Blade:
- Choose the appropriate blade for the tool you’re using. A fine-tooth blade is suitable for clean cuts in LVP.
- Secure Planks During Cutting:
- Use clamps or other securing methods to prevent LVP planks from moving during the cutting process, ensuring accuracy.
- Wear Safety Gear:
- Protect yourself by wearing safety glasses, especially when using tools that generate debris.
- Consider Directional Cuts:
- When making multiple cuts, consider the direction of the pattern on the LVP. Consistent directional cuts contribute to a polished overall appearance.
- Practice on Scrap Pieces:
- If you’re new to cutting LVP, practice on scrap pieces first to get a feel for the tools and techniques.
- Keep Blades Sharp:
- Dull blades can cause tearing and uneven cuts. Regularly check and replace blades to ensure optimal performance.
- Mind the Expansion Gap:
- Leave the recommended expansion gap around the perimeter of the room. This gap allows for natural expansion and contraction of the flooring.
- Work in a Well-Ventilated Space:
- If you’re using power tools, work in a well-ventilated area and consider using a dust mask to protect against airborne particles.
- Plan Cuts for Aesthetic Appeal:
- Plan your cuts strategically to enhance the overall aesthetic appeal of the flooring. Consider the layout of the room and the visibility of cut edges.
Conclusion
Mastering the art of cutting Luxury Vinyl Plank (LVP) flooring is a key skill for anyone undertaking a flooring installation project. Whether you’re making straight cuts with a utility knife, using a vinyl cutter for precision, or employing power tools like a jigsaw or table saw, the goal is to achieve clean, accurate cuts that seamlessly integrate into the overall design. By following the steps outlined in this comprehensive guide and incorporating the tips provided, you’ll be well-equipped to tackle LVP cutting with confidence, ensuring a professional and visually appealing result for your flooring project.
2 thoughts on “The Best Way to Cut LVP Flooring”